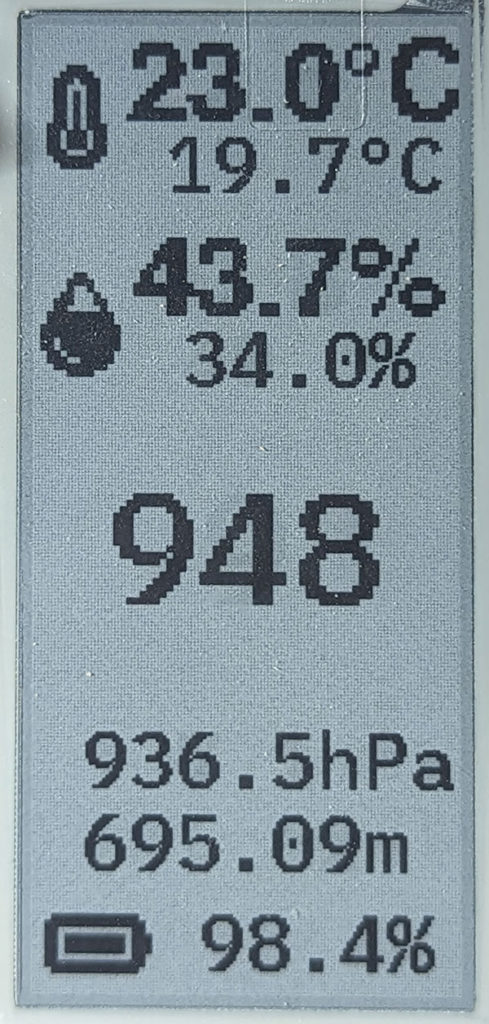
Measure CO2, temperature, humidity and send that data to the cloud, while displaying results on an 2.9″ e-ink display.
My first choice was to use the display vertically. It feels a bit less like a price tag in this orientation.
e-ink displays maintain their data even when power has been disconnected.
This past August 18th marked CircuitPython day, a celebration of Python on Microcontrollers. CircuitPython is an off-shoot of MicroPython maintained by Adafruit which aims to ease the use Python on constrained devices with limited RAM and Flash memory, reduced CPU. AKA Microcontrollers.
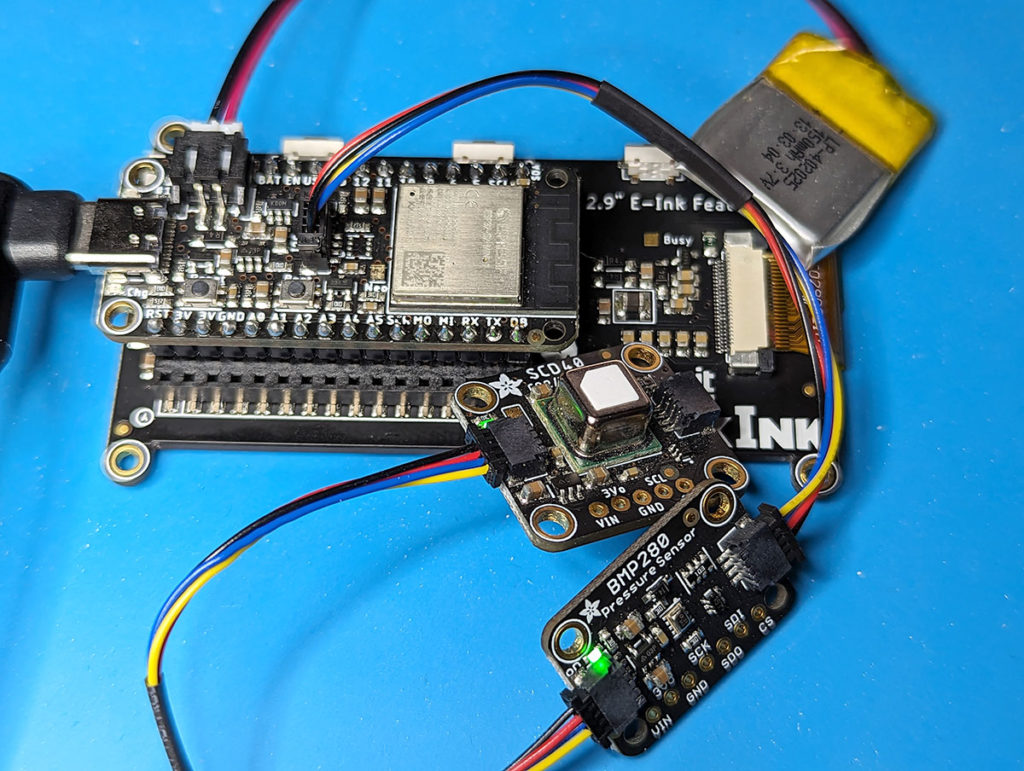
Beside indoor sensing of CO2, temperature, and humidity I’m also using the ESP32-S2 with Adafruit Requests library to fetch an XML file hourly from my local weather service for current outdoor temperature and humidity. Some challenges include when this xml feed changes due to weather events and warnings. I’ve included lots of try:except: blocks for each step of the Requests, Socket pool, Parsing to find where it was sometimes failing.
This BMP280 library also contains code I have happily contributed to which helps set the altitude of the sensor. Changes in pressure are registered as atmospheric rather than altitude.
E-ink is awesome for it’s low power. Combined with the ESP32-S2 deep-sleep capabilities I’ve managed to get hourly updates for days on a tiny 150mha battery.
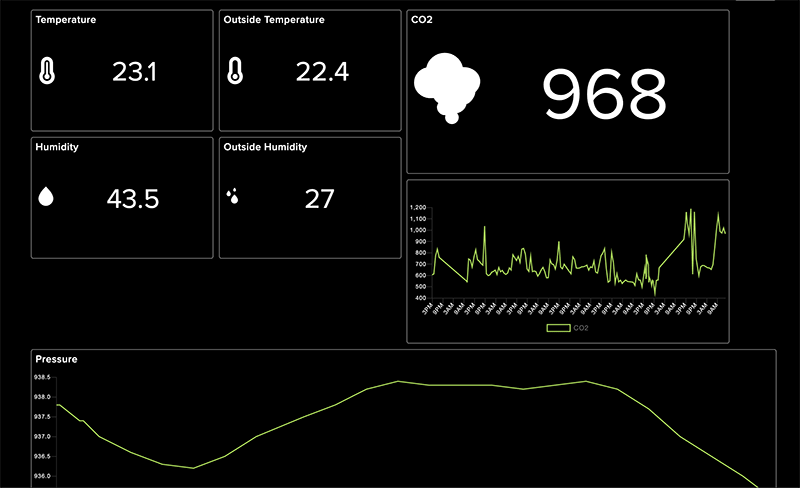
All of the data is shared hourly to Adafruit IO. A cloud service which provides dashboards, alerts, events, and recording of historical data.
Wildfire smoke has forced windows closed and thus high CO2 vlaues
The majority of work was laying out the e-ink display and data labels using the CircuitPython displayio library. Two separate fonts are used separating Inside vs Outside data.
One cool feature is using a spritesheet for the temperature, humidity, and battery icons. The data depends which icon gets shown:
As a serious microcontroller user or single board computer enthusiast, I have the choice to program with Arduino, C++, Python with Raspberry Pi, CircuitPython, JS etc. More often than not given this choice I choose CircuitPython.
Here is why I personally prefer it: 1) Mountable drive with code.py file – Plug in the device and it mounts like a thumbdrive on Windows, Mac, or Linux. Any text editor can immediately read and change the code running on the board. Not something that is immediate with Arduino.
2) The REPL – Or Read, Evaluate, Print, Loop on the command line. This allows you to test and run small bits of code without committing permanent changes.
3) Circup – A command line package manager that manages and updates libraries found on any board plugged into the computer.
4) The community – So many great people contributing and sharing in a very welcoming environment.
I have a couple ideas for a case or mount but happy so far and I wanted to share for CircuitPython day.
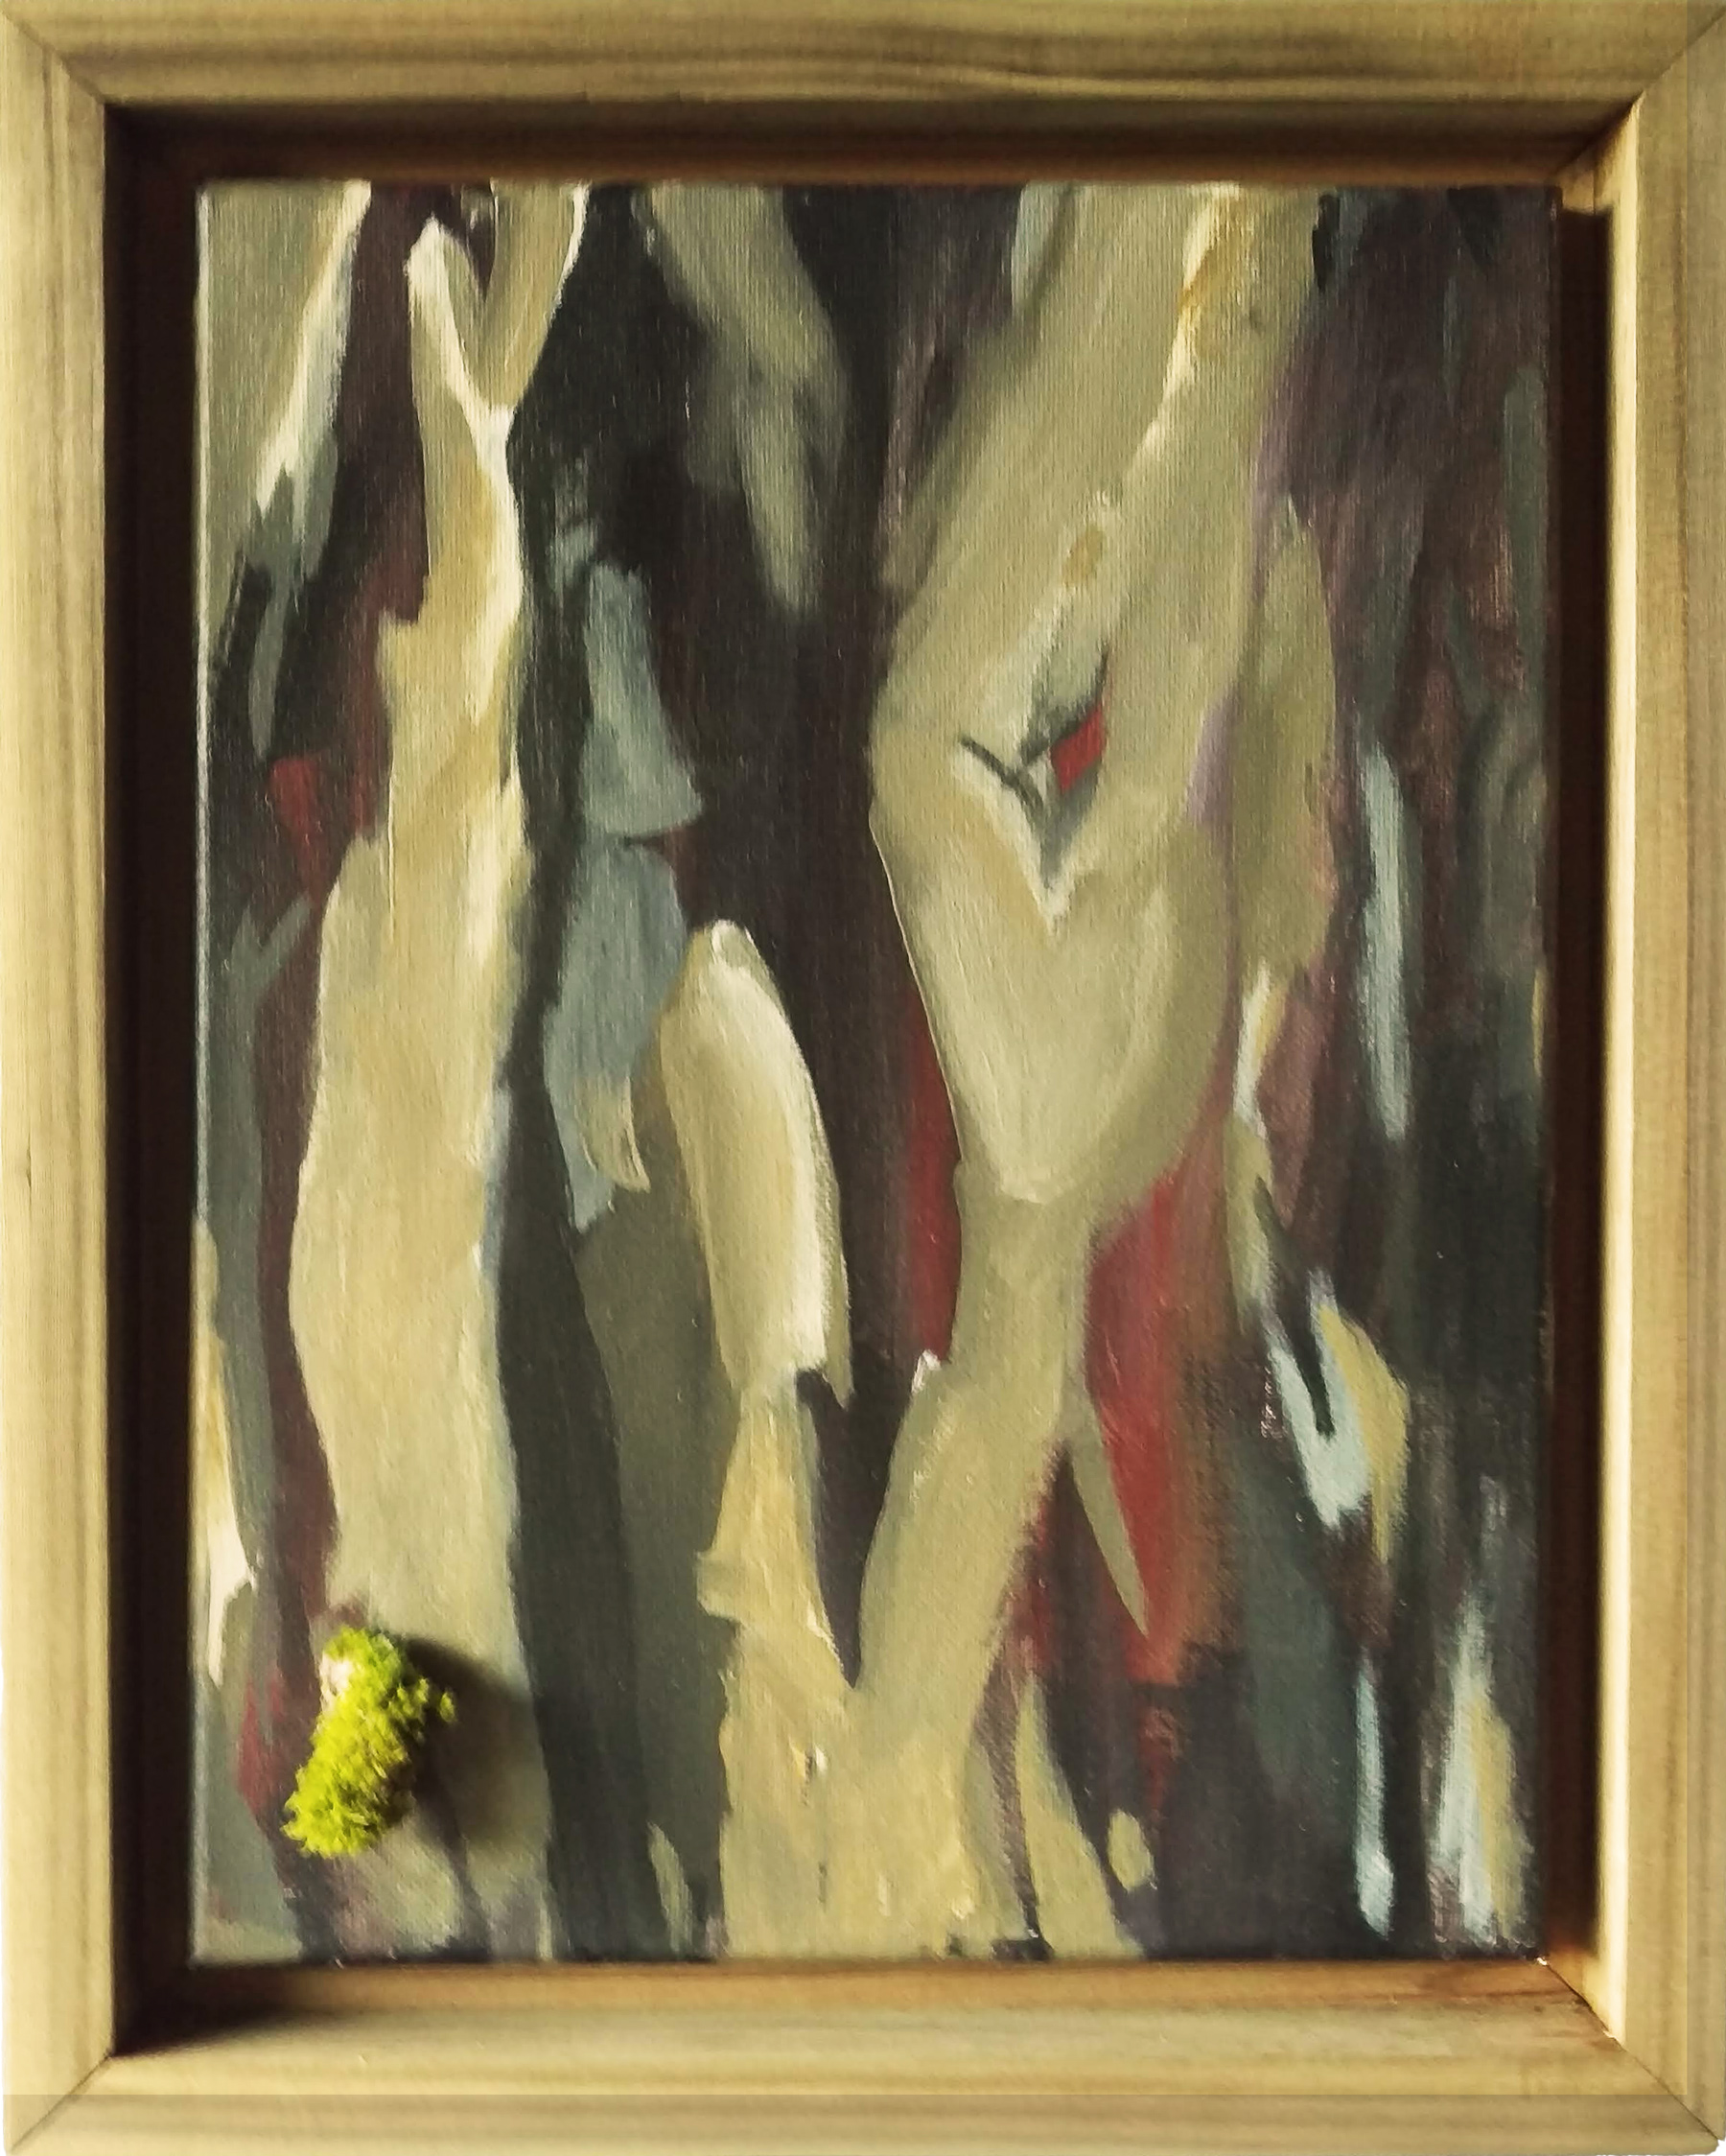
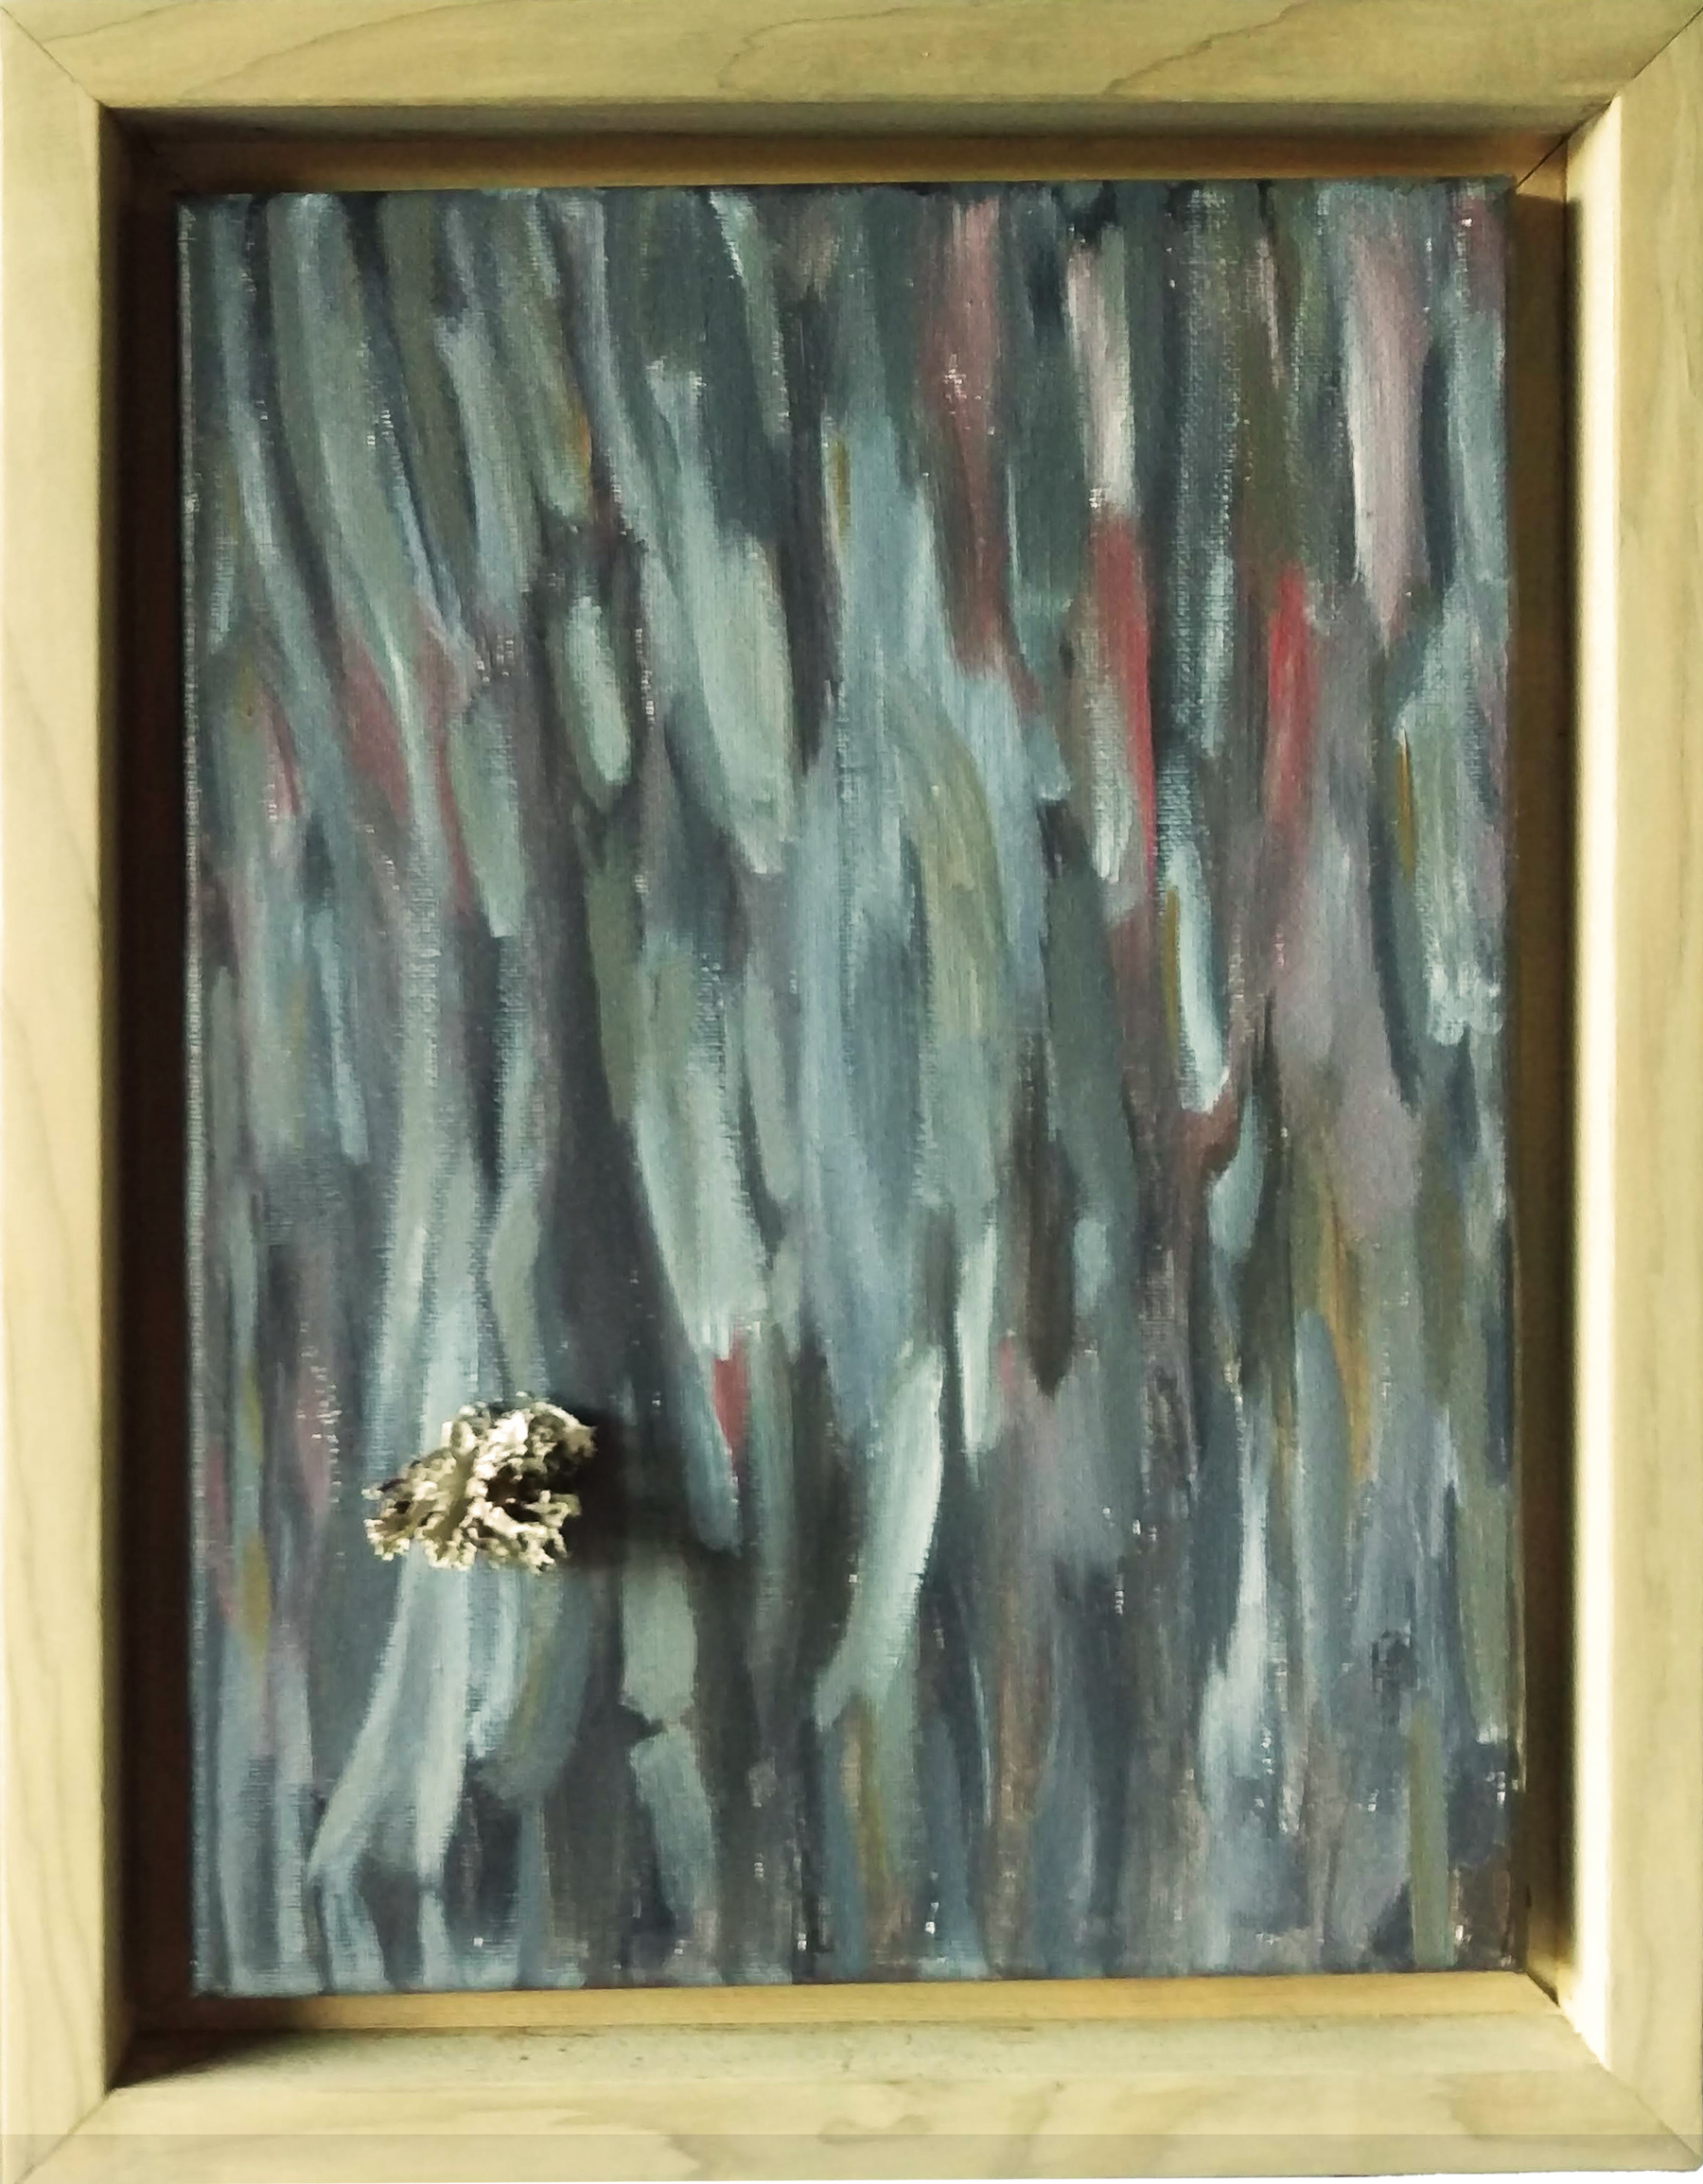
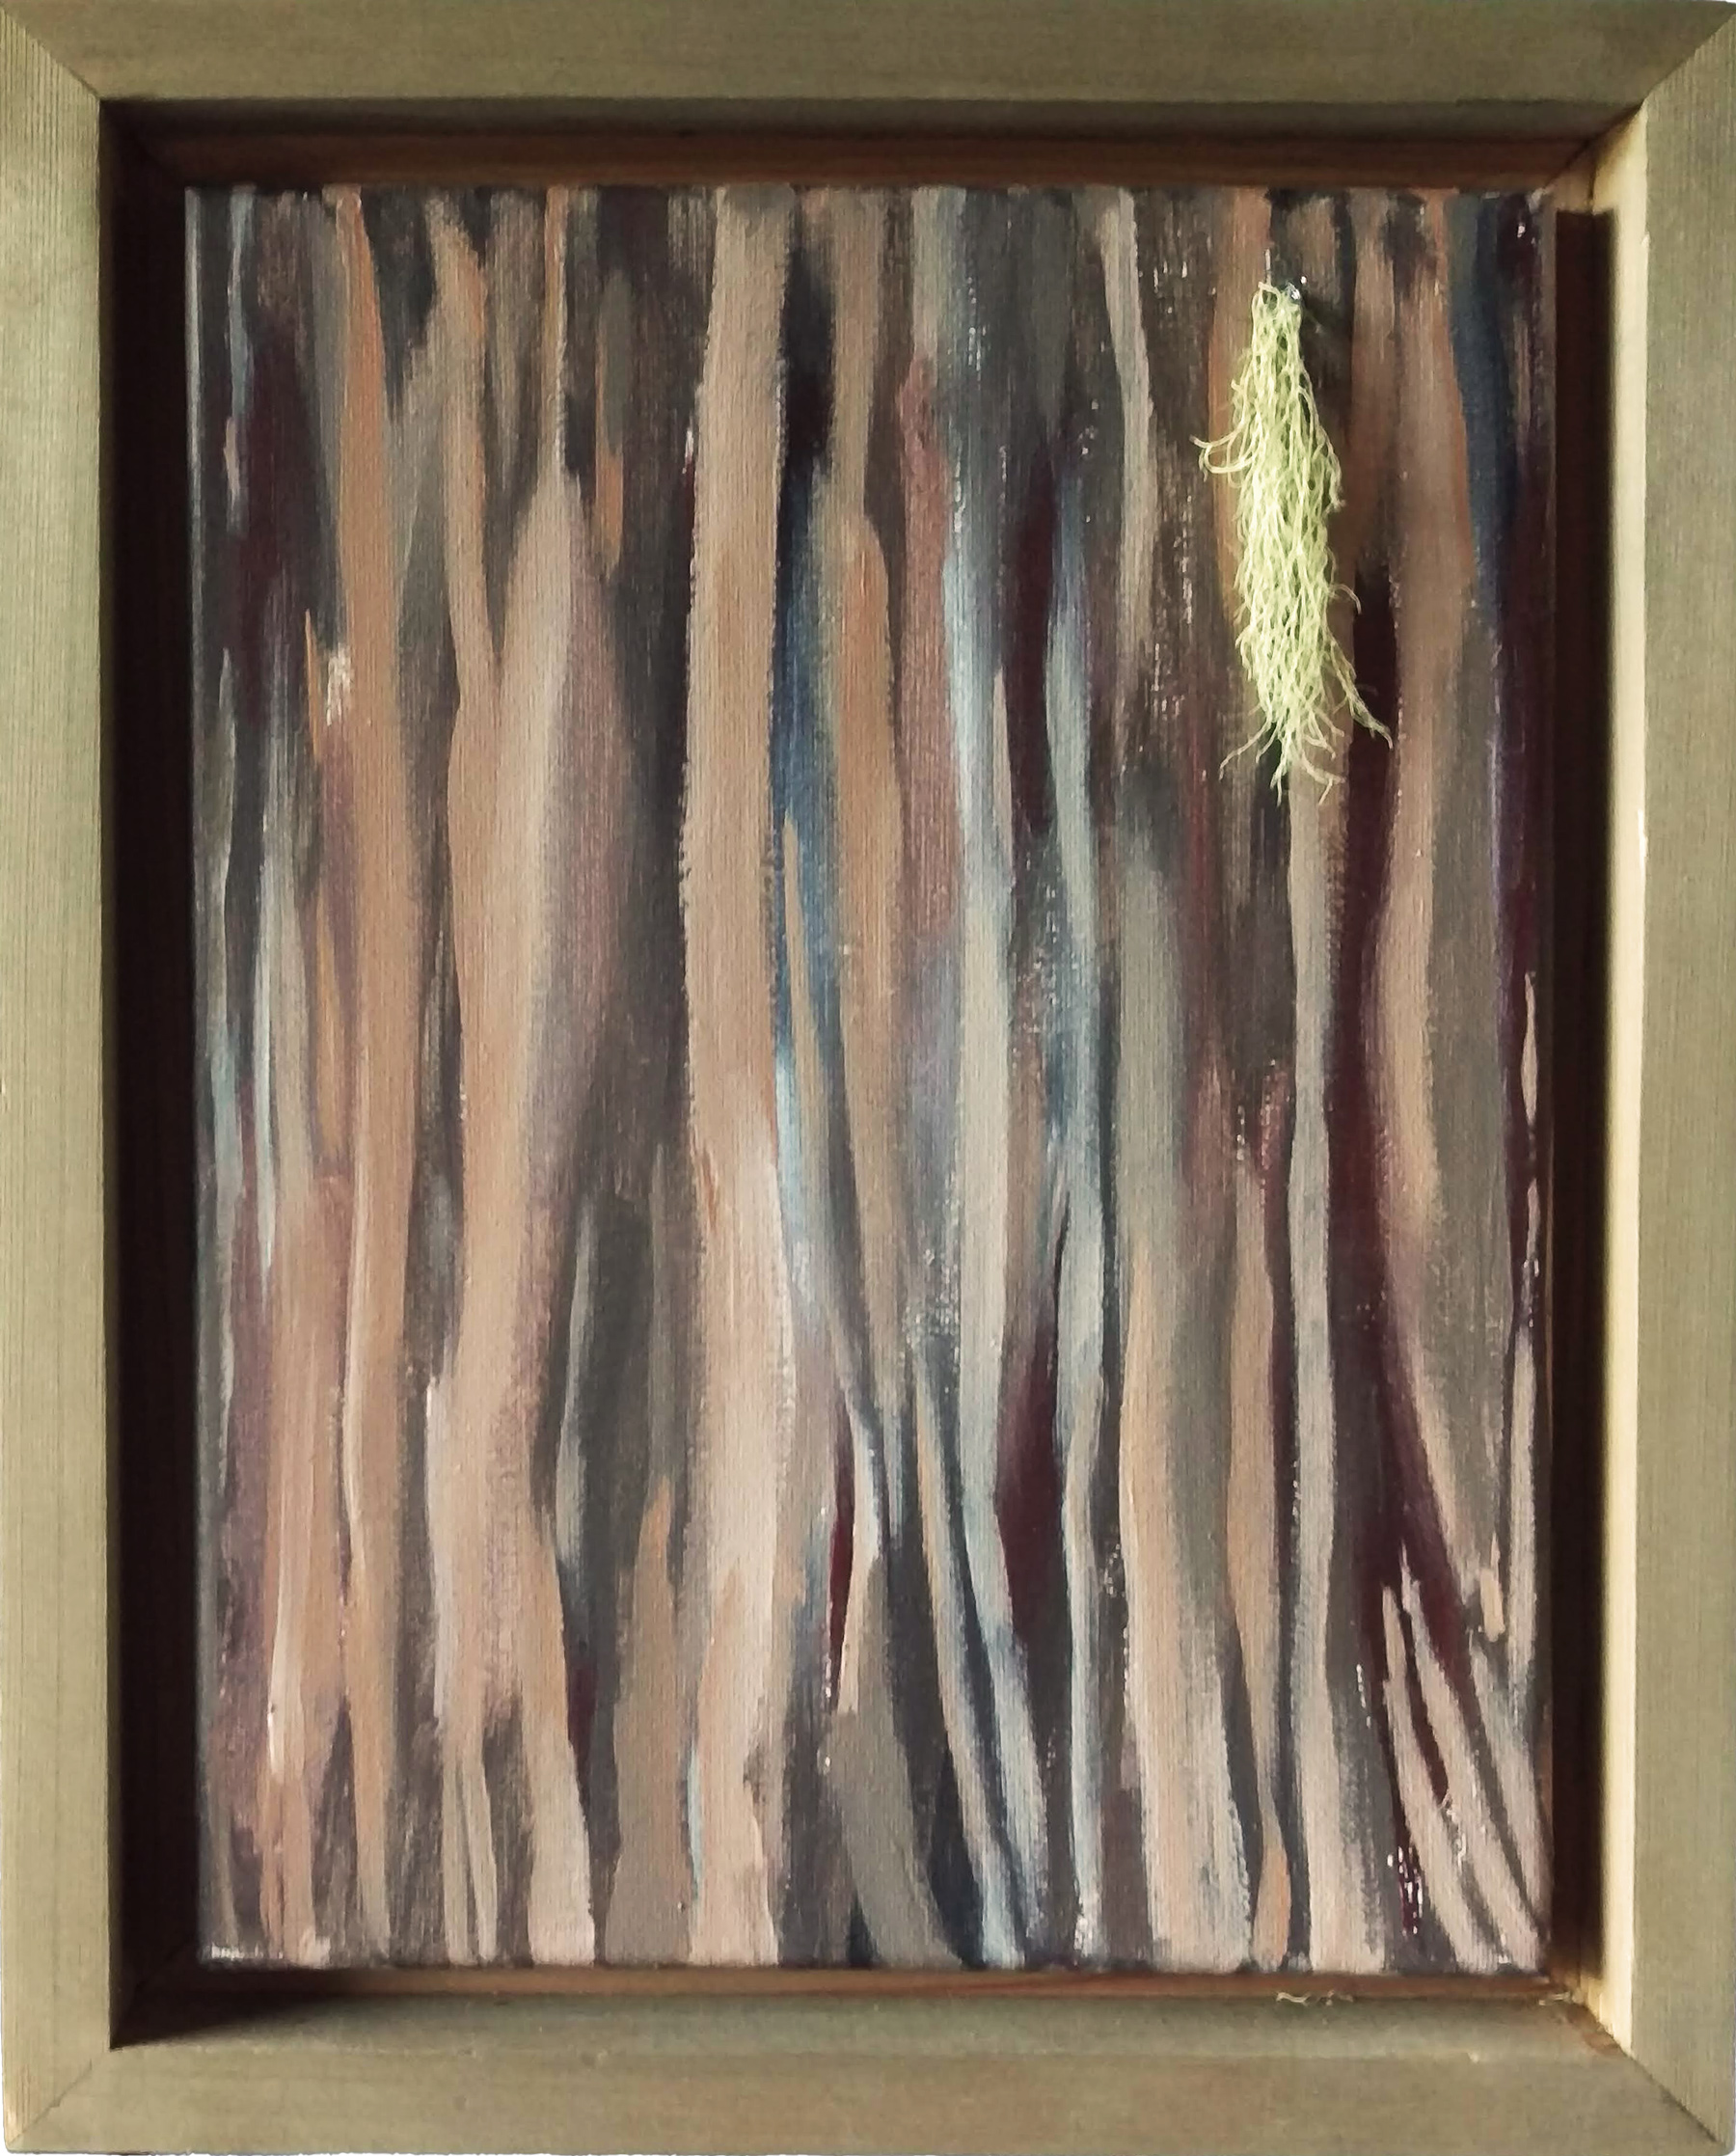
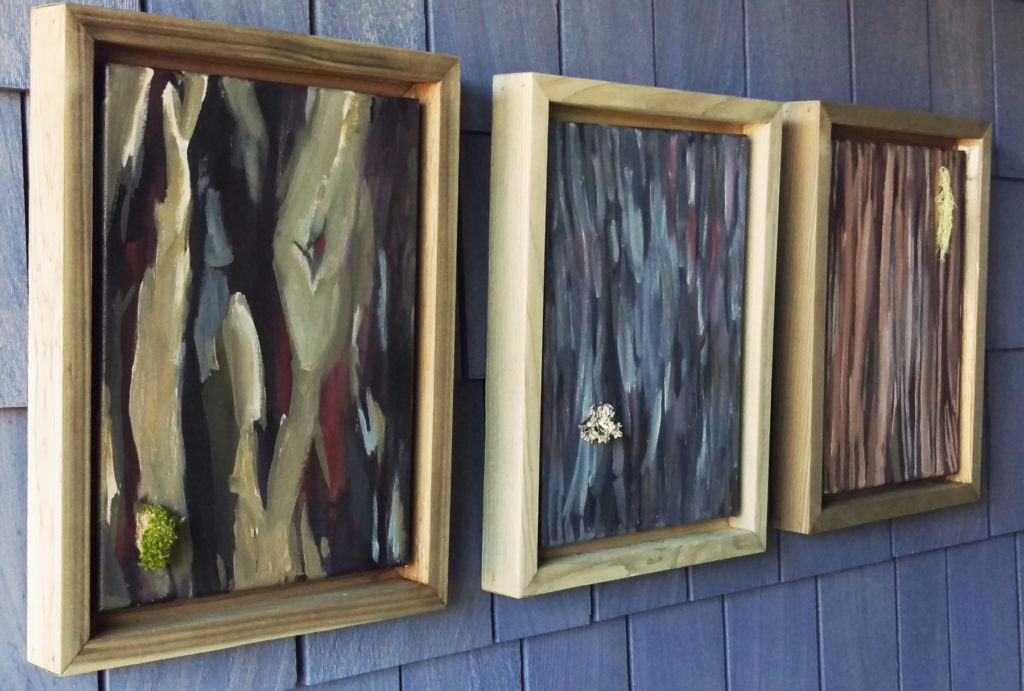
Often found growing together in the Coastal Mountain forest of British Columbia, these three species were inspiration to capture the texture and light of my local forest. The idea to frame each with their own type of wood came both as a natural idea but also because of materials at hand.
Douglas Fir, Western Hemlock, and Western Red Cedar Each has it’s own properties such as weight, grain, smell, and value. It’s this author’s belief that lumber and forestry can be a sustainable industry if well maintained. Hands off old growth! Selective forestry needs to be rewarded and raw log exports minimized.
Each frame has been treated with LifeTime® Wood Treatment Non-Toxic Wood Stain. The result is a natural grain finish and each painting is adorned with a spot of forest lichen or moss.
Canvas measurements are approximately 9″x12″ (23cm x 30 cm) With frame the hanging dimensions each measure 11 1/4″ x 14 1/4″ (28cm x 36cm)
For Sale: Framed Coastal Mountain Forest Painting Triptych Artist: Andrew Smith Price $6,600
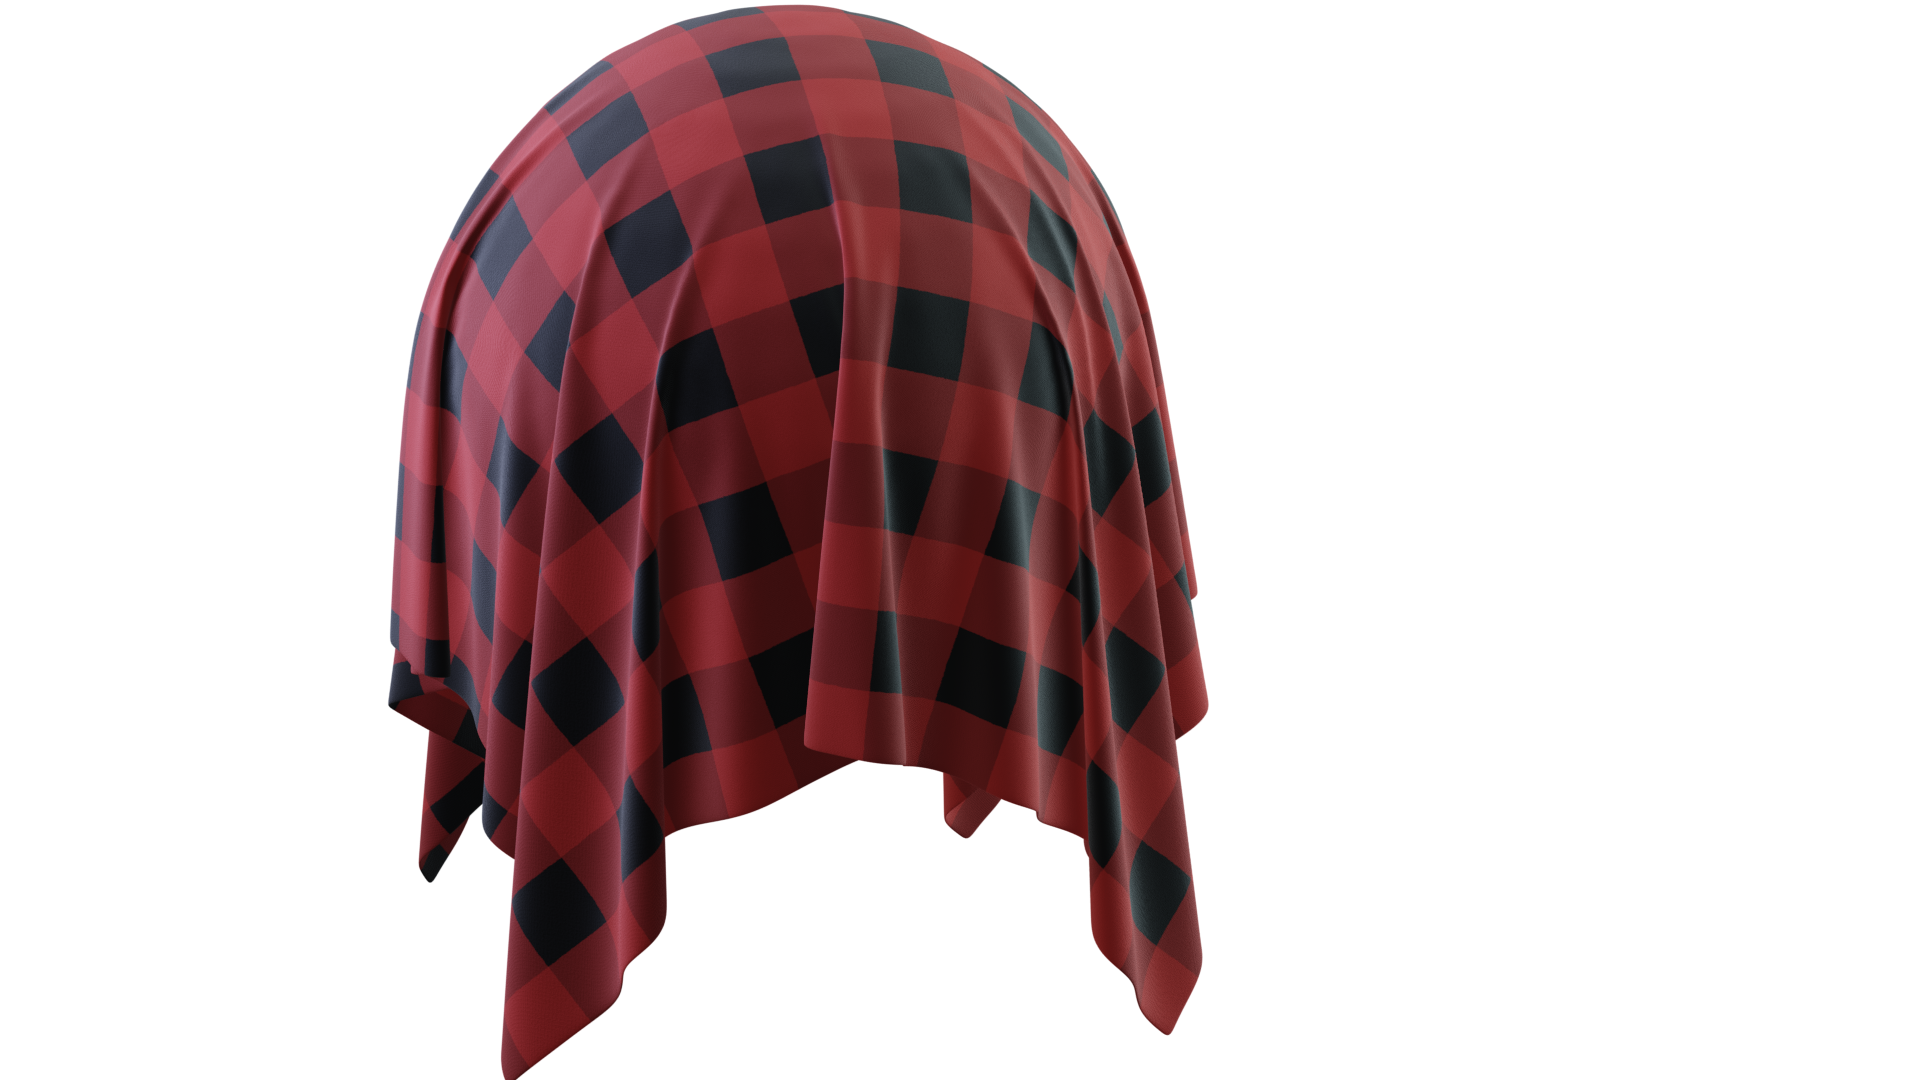
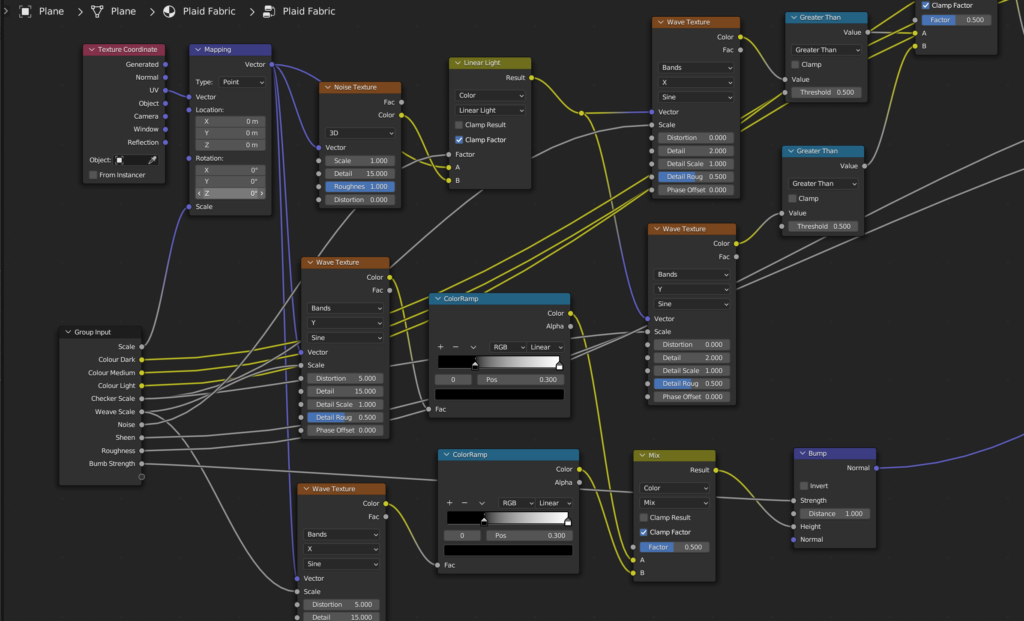
This was fun, because how can you have too much plaid? Thanks to Ryan King Art on Youtube for the Blender tutorial series on material nodes. His tutorials are great and I appreciate the effort in his editing. Support him if you can.
I often joke that I’ve learned Blender 3D every year for the last 20 years. Sometimes because I forgot what I previously learned and don’t use it frequently but more often it’s because a new release offers new tools and capabilities. The development has seen major changes to the UI and entire interface in recent years. The latest have been geometry and material or shader nodes. A way to procedurally or programatically link blocks, each affecting the output in a chain. Either to create geometry or to produce any desired material. Plaid in this case. A previous post shows another example using nodes to create and animate fake trees.
It can get messy and may look confusing but when grouped the key attributes are easily accessed and changed. It makes sense that the Blender Add-On called “Node Wrangler” comes in handy.
Blender is a free and open source 3D application, completely extendable using Python. It continually delivers updated features and is capable of producing amazing compositing/animation/video/3D printing, you name it. (I do miss the game engine)
If you’re looking to learn 3D I highly recommend Blender 3D And again look for Ryan King Art on Youtube for plenty of beginner tutorials.