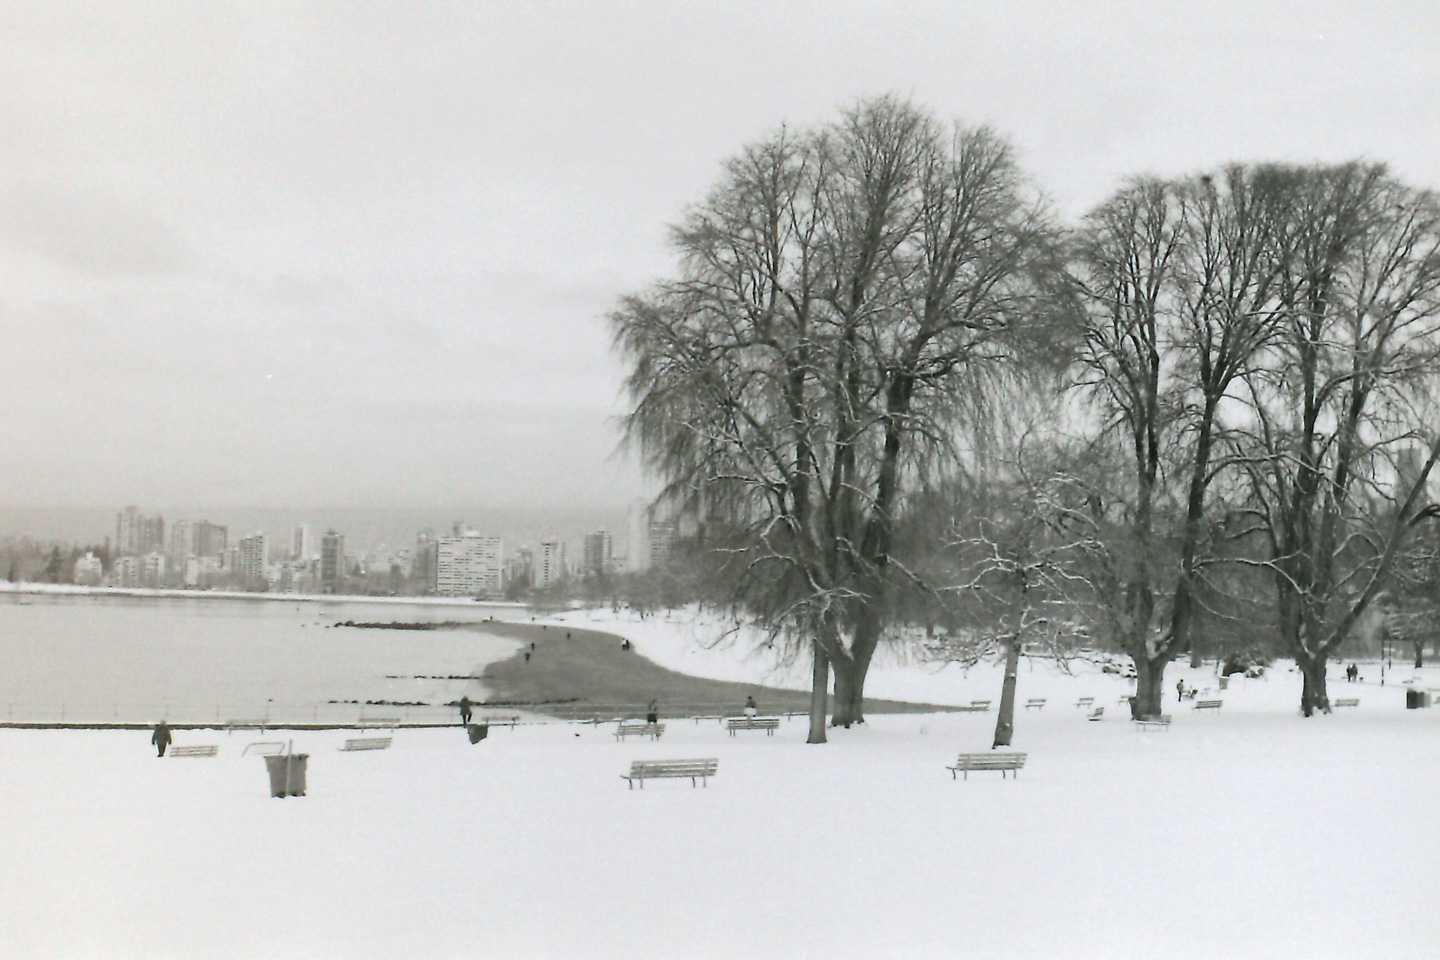
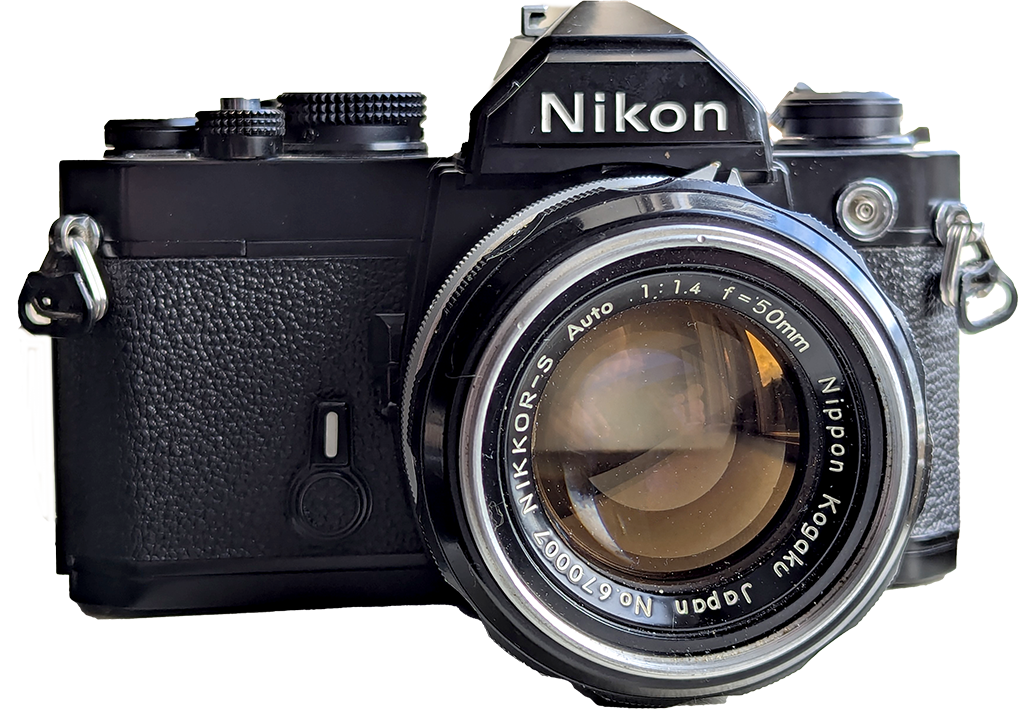
A couple more pictures from the Nikon FM with Nikkor 50mm f/1.4 This time using Ilford Delta 100 film, developed in Ilfosol 3 for 5 minutes at 20°C Fairly rare for snow in Vancouver to stick around very long.
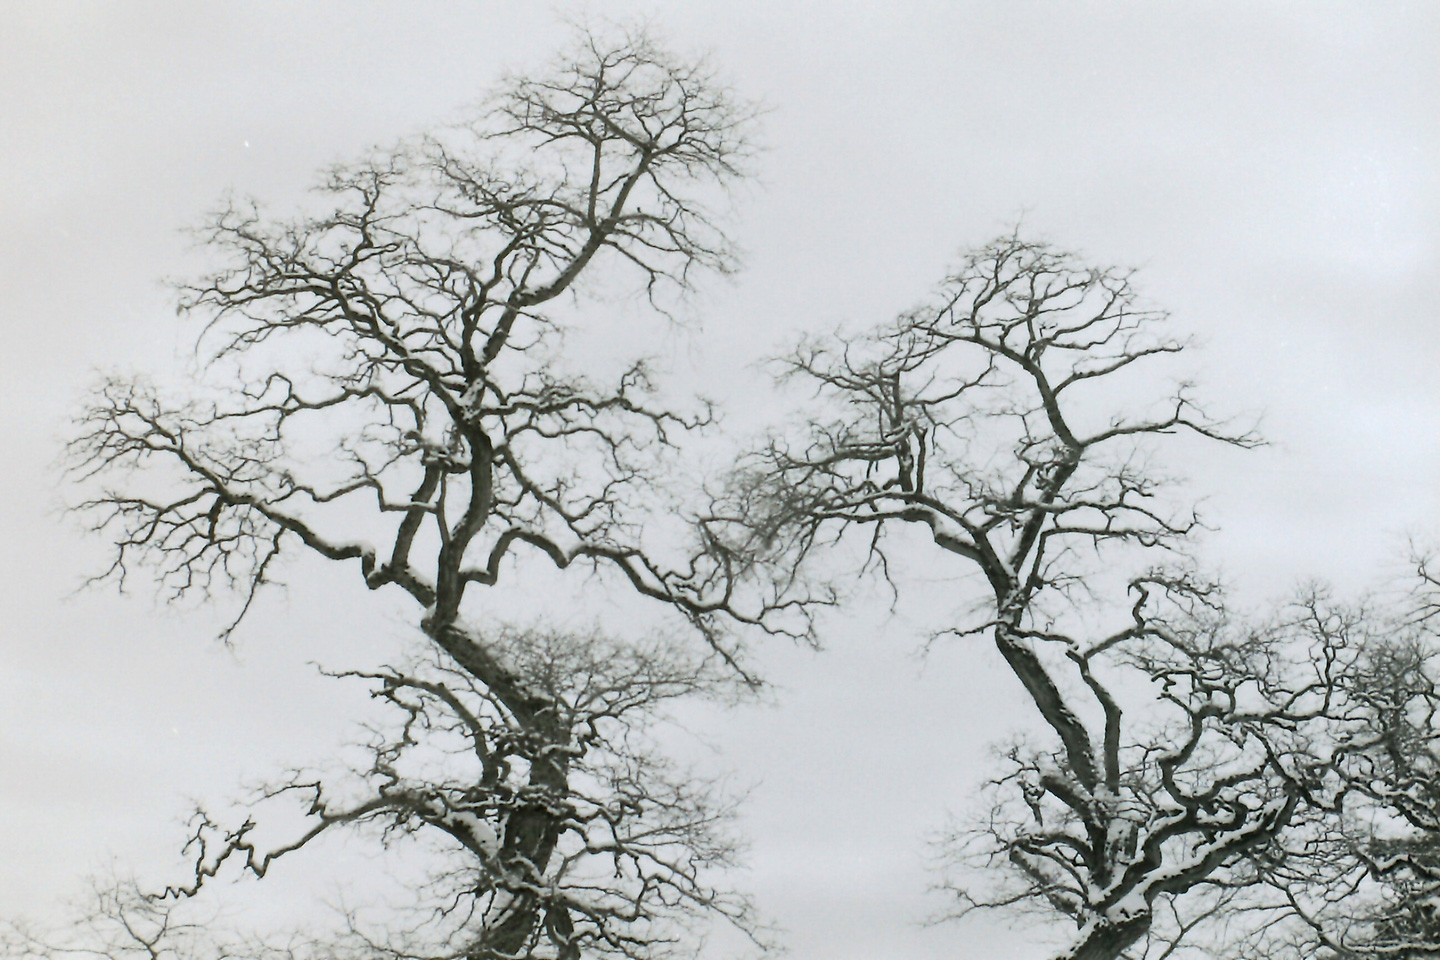
Trees really are the lungs of the earth. The negative I developed looked like lightning. I like this one.
I’m a bit slow to shoot a whole roll of 36 and develop it so it feels out of season while currently enjoying Spring.
On a few photowalks around Kitsilano in Vancouver BC with my first roll of Fomapan Classic 100. All pictures shot with older, non-AI Nikkor 50mm f/1.4 lens.
Developed in Ilford Ilfosol3 for 5 minutes at 20°C and scanned with a cheap film scanner. Color has been removed and some levels adjusted slightly.
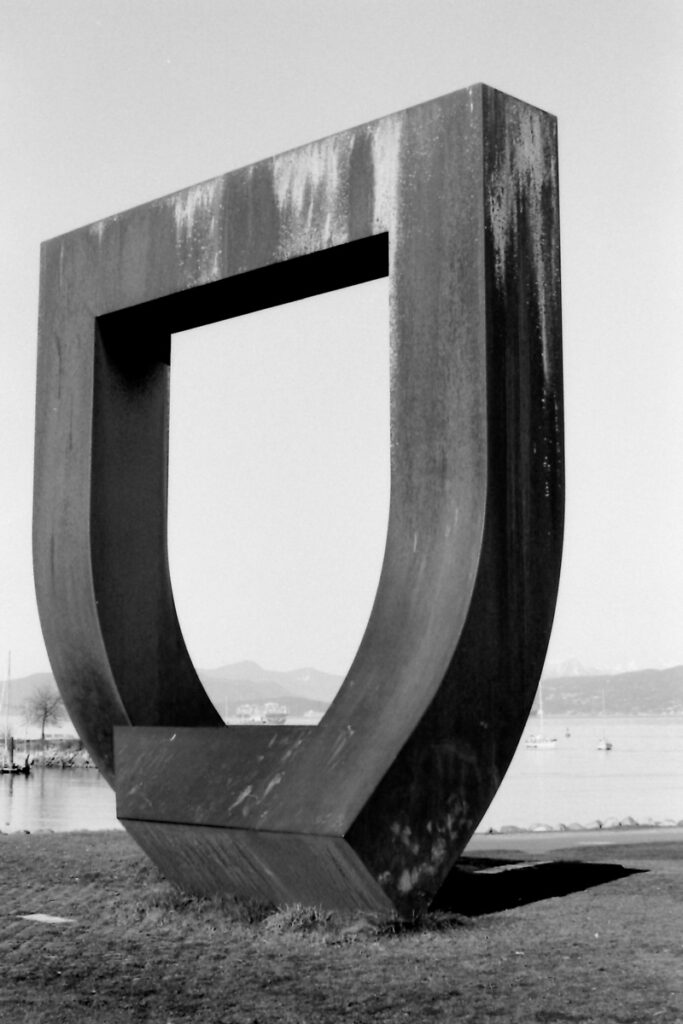
Gate to the Northwest Passage
Here at this impressive 4.6m (15ft) art installation sculpture by Alan Chung Hung (built in 1980) I walked around appreciating how the profile changes as you view it from different angles. The rusting weathered steel boasts some great textures and patina. Without a battery for the FM I metered using a phone app and shot handheld usually 1/125
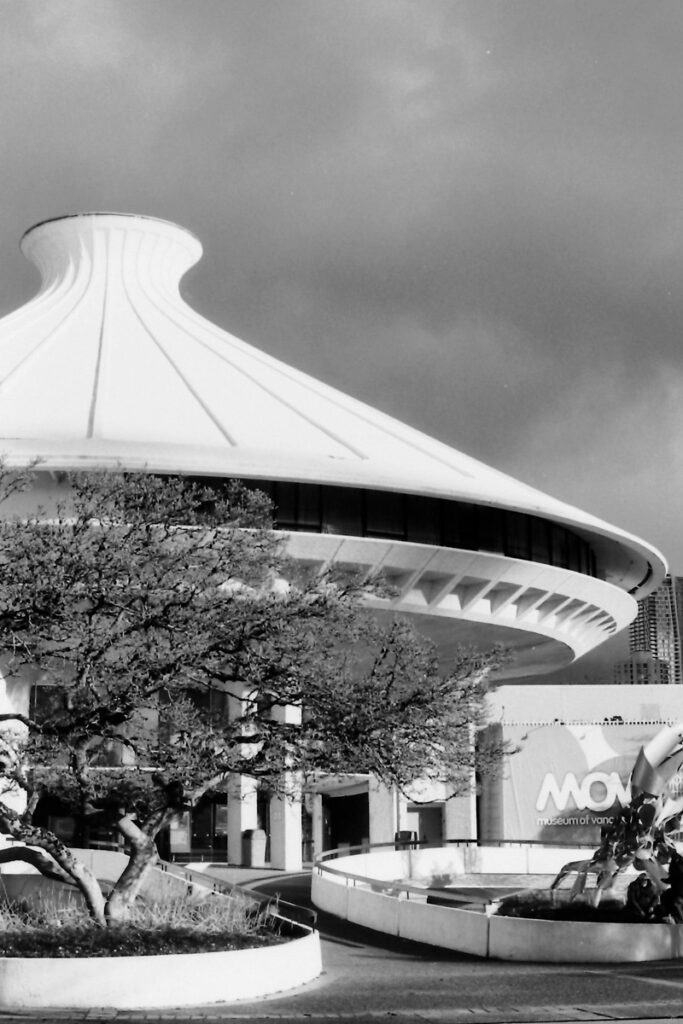
Museum of Vancouver
The Museum of Vancouver was rehoused in this funky building in 1968. As I walked up the street I noticed a stormy backdrop over the city with light getting through to the building. The ramp curves help frame the picture a bit as well I think.
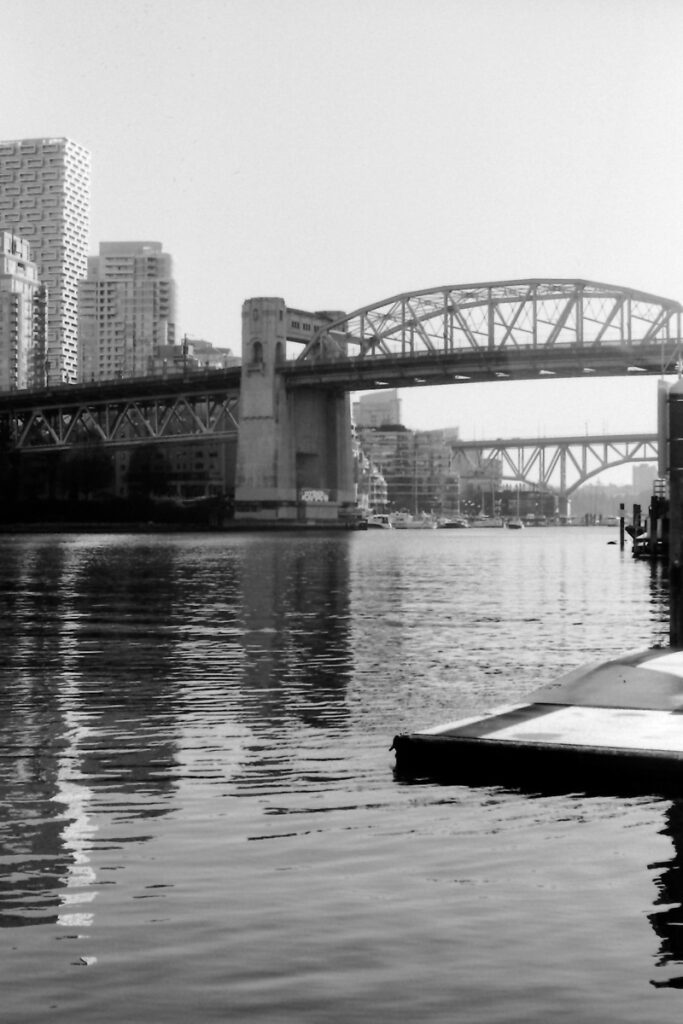
False Creek – Burrard and Granville Bridges
Vancouver really does have great looking bridges. Down at the public boat launch you can look down False Creek. Maybe too washed out, I may like the landscape version of this better but this one has some tension.
Seaforth Armoury
This Canadian Forces LAV III or Light Infantry Vehicle sits at busy Burrard Street in front of the Seaforth Armoury. With a 50mm lens I needed to back up to the curb with a sidewalk and bike path in between. Head on a swivel. You can really make out some of the soft grain in the white building behind. The lighting and perhaps a cheap scanner make that front tire look Photoshopped but it’s not.
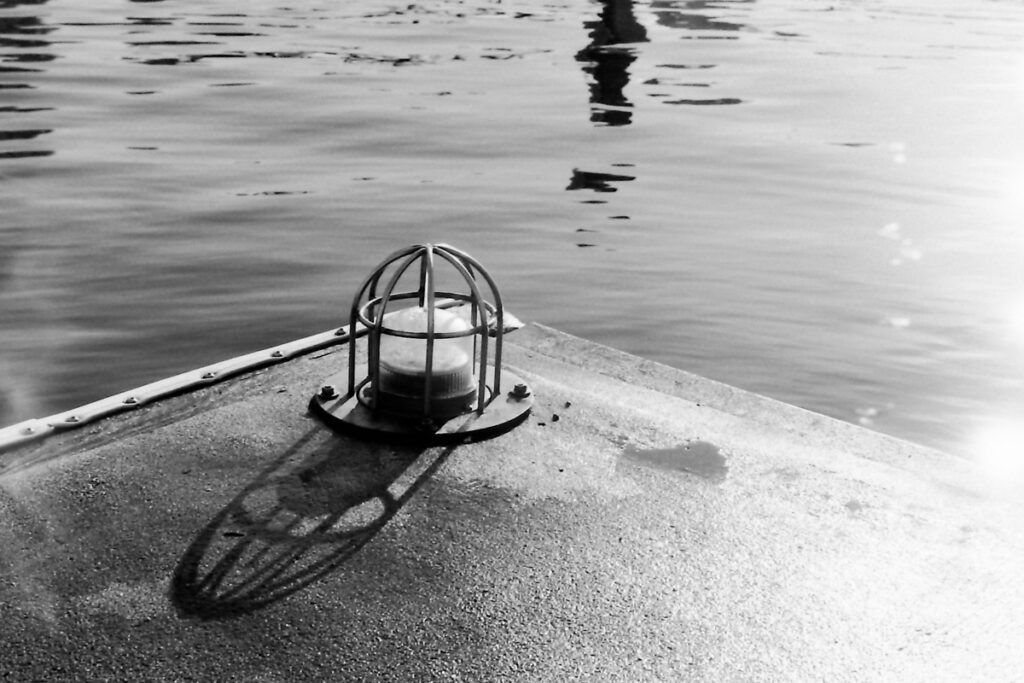
Wharf Light
I liked this shot even though there appears to be glare and light leaks. At the edge of the public boat launch dock in frosty temperatures I remember feeling a bit nervous and perhaps gripping the camera a bit firmer than normal.
Took me a while to both get through a roll of 36 and also to narrow down to just five pictures. Happy with the results and will definitely use Fomapan 100 again.
This post is a wishlist for CircuitPython in 2025. Each year Adafruit asks the community to contribute their thoughts or requests for the open source microcontroller language as outlined on the Adafruit blog.
In 2025 I would like a library for working with vectors, similar to that of p5.js Vector.
Early this year I spent some time re-visiting the MatrixPortal M4, specifically trying to reproduce some of the examples found in the excellent book Nature of Code by Daniel Shiffman on two 64×32 RGB LED panels.
This latest book uses JavaScript, and the p5.js library to simulate natural systems. A rewrite of the original book using Processing. I had some success getting the first few examples to work with DisplayIO and CircuitPython.
Particles created with a random vector and magnitude, affected by “gravity”.
I was able to do some of the basic matrix addition / subtraction / multiplication etc. with custom functions but where I started to run in to some difficulty was with some of p5.Vector handy methods: limit() – Limits a vector’s magnitude to a maximum value. heading() – Calculates the angle a 2D vector makes with the positive x-axis. rotate() – Rotates a 2D vector by an angle without changing its magnitude.
Looking back this year at some of my CircuitPython projects, I definitely levelled up on displayio and enjoyed the Live streams of FoamyGuy, JP’s workshop, and of course Adafruit’s Show & Tell. I appreciate the contributions from all the Adafruit developers as well as the community.
My commitment this year will be to “Use what you have” and hopefully contribute if I can.
Recently Microsoft released the open 3D generation software Trellis. I decided to try a few tests as reviews had been quite favourable with results creating 3D models with “AI”.
The website describes the technology as unified Structured LATent (SLAT) representation and there is a demo page to try it out. https://trellis3d.github.io/
I chose an image-to-3D example, meaning I upload an image and get back a textured 3D model. Having been a long-time fan of photogrammetry, or creating geometry from two dimentional images, and also a 3D genralist that regularly creates 3D models using Blender, I was eager to see how it would perform.
Using the prompt example seen on VFX & Chill live stream where two artists used Z-Brush to sculpt food in a 20 minute timed challenge, I set out to create a seasonal gingerbread model.
First, Adobe’s Firefly image generation created this image using the prompt: “elaborate gingerbread house with icing“. Impressive start.
Next, dragging the image to the demo site and clicking “Generate” with default settings impressively separated the image from the background and in about 30 seconds showed what it thought the full model would look like. The entire unseen back of the house is amazingly “imagined”.
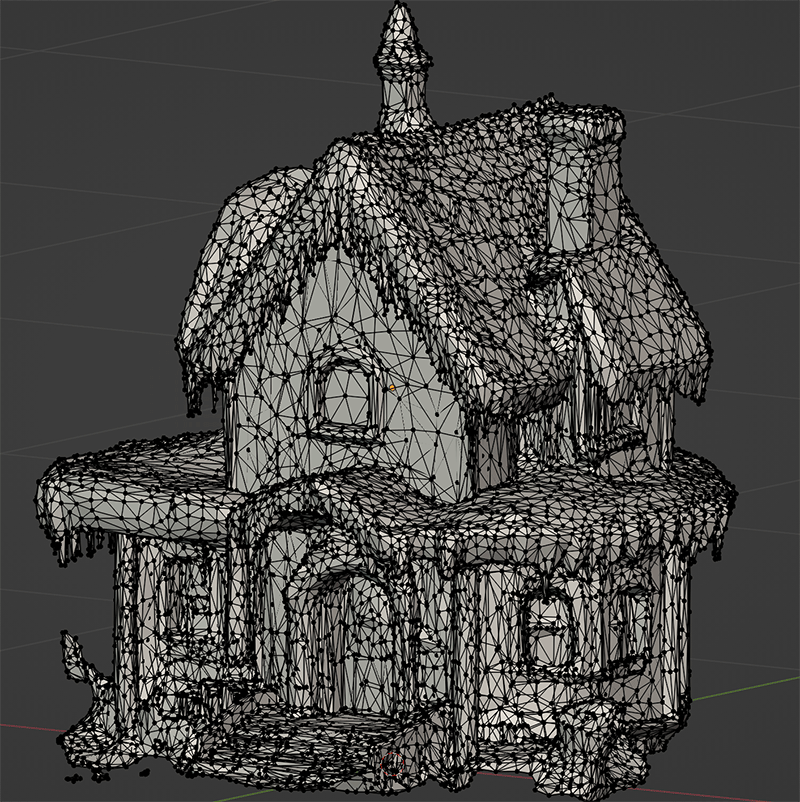
What’s produced is a GLB file that contains mesh and texture that can be dragged into your 3D program and edited or used as any other asset. In about 4 minutes I have any model loaded ready to use.
As for the model quality, it created a 52K face mesh count which could be considered medium quality. There are lots of artifacts and non-manifold holes but for any background shot it might be just enough to pass the test. Some retopology is almost certainly required and honestly given the choice to “fix” this model or start from scratch I might be tempted to just build it again.
Great from far, far from great.
I don’t give it long, maybe two years, before anyone can drop any fully 3D asset they can think of into any scene realtime.
As with any AI/ML generative model please understand the environmental and ethical implications.
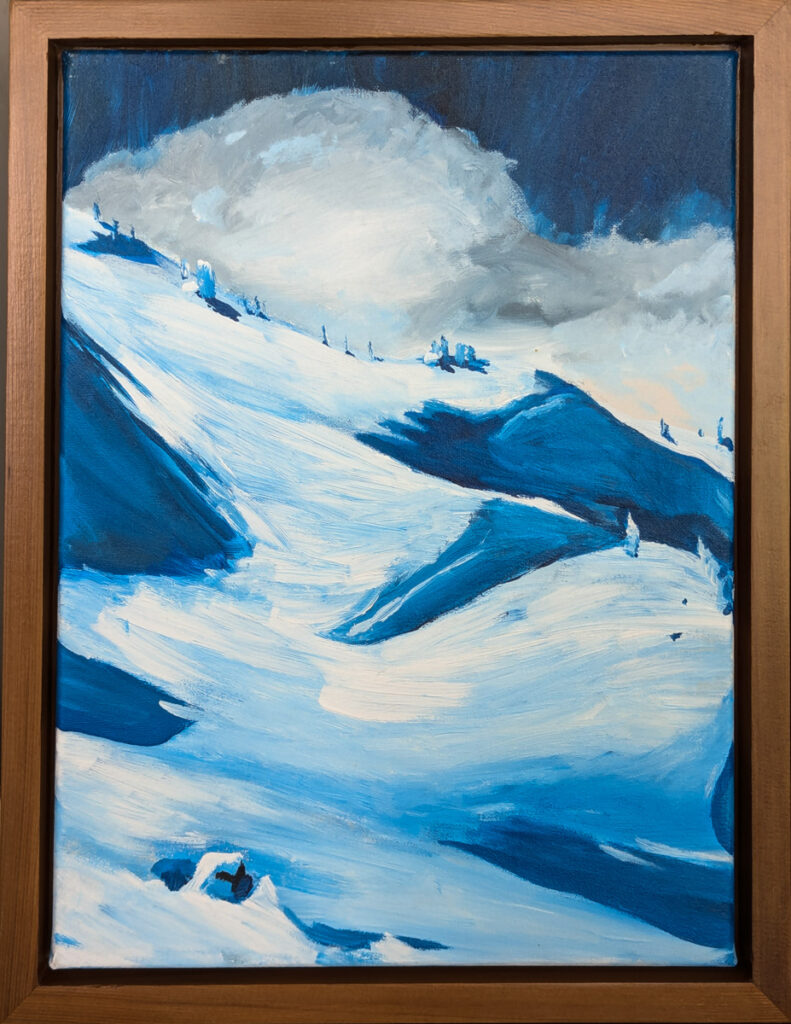
Often inviting. This terrain just off the Whistler peak road can be an enticing sun-swept run of untouched powder. Understanding that you need to come back up the same way you go down, can make you question if it’s really worth it. Know before you go.
Cake Hole by Andrew Smith Acrylic on canvas Framed by artist 12 x 16 in $3600